

Setting up ODBC: Difference between revisions
No edit summary |
No edit summary |
||
| Line 1: | Line 1: | ||
# | #DSN Setup Tool | ||
Open Control Panel -> Administrative Tools -> Data Sources (ODBC) <br><br> | |||
In a 64 bit environment Open C:\Windows\SysWOW64\odbcad32.exe (ODBC) <br><br> | |||
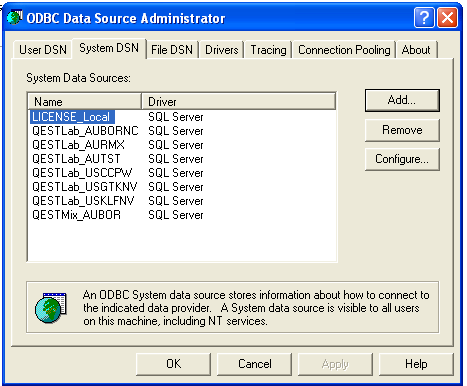
#Select the “System DSN” tab. [[Image:systemDSN.png|centre|frame]]<br> | #Select the “System DSN” tab. [[Image:systemDSN.png|centre|frame]]<br> | ||
#Click ‘Add…’ for a new DSN.<br><br> | #Click ‘Add…’ for a new DSN.<br><br> | ||
Revision as of 03:15, 25 March 2014
- DSN Setup Tool
Open Control Panel -> Administrative Tools -> Data Sources (ODBC)
In a 64 bit environment Open C:\Windows\SysWOW64\odbcad32.exe (ODBC)
- Select the “System DSN” tab.
- Click ‘Add…’ for a new DSN.
- Select DSN as an “SQL Server”. A window to ‘Create a New Data Source to SQL Server’ will appear. Choose the ‘Name:’ of the database added in Enterprise manager. (i.e. QESTLab_AUBOR) and enter in ‘Server:’ “(local)”. Note the DSN name has to match the name in the Enterprise manager.
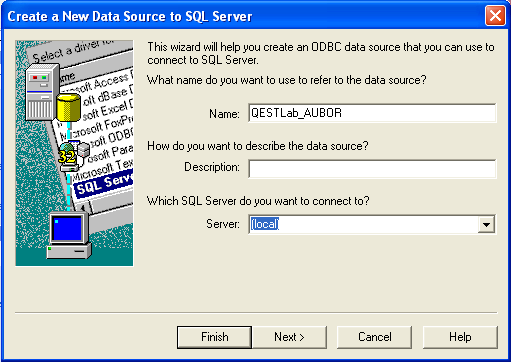
- Click next -> next
- Change the default database to the newly added database. (i.e. QESTLab_AUBOR).
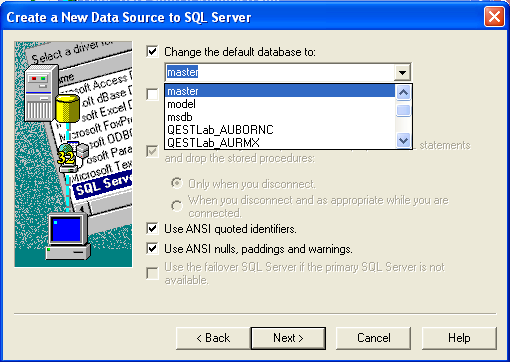
- Click ‘Next’ and ‘Finish’ on the following screen.


